On Finding an Excuse to Buy an Arduino or: How I Finally Got Myself a Theremin
In my last blog entry, I talked about theremins. I've known about them for a while, and I've always found them fascinating, but I've never actually taken the plunge and bought one, despite being being tempted on many occasions (they're not that expensive).
At the same time, I've known about Arduinos for a long time, and I've always wanted an excuse to buy one, but I've never actually taken the plunge and bought one. As I'm fond of saying, an Arduino is a solution in search of a problem, and I just never found the right problem for one.
That is, until I found this website: http://www.gaudi.ch/OpenTheremin/
A chance to build a theremin out of an Arduino? How could I pass this up? I couldn't, that's how.
You have two choices if you want to build an Open Theremin. You can buy the kit or, if you're feeling brave, you can study the schematics and build it from scratch.
I myself had two important but conflicting goals that I wanted to accomplish with this project:
- I wanted a working theremin
- I wanted to deepen my knowledge of electronics
I stood a much better chance of accomplishing (1) if I bought the kit. I stood a much better chance of accomplishing (2) if I built one from scratch. I eventually decided to try for both; I bought the kit and started the process of buying the component parts separately.
This blog entry will detail the steps involved in putting together the kit; my success (or lack of it) in building the project from scratch will be detailed in subsequent blog entries.
Building the Theremin
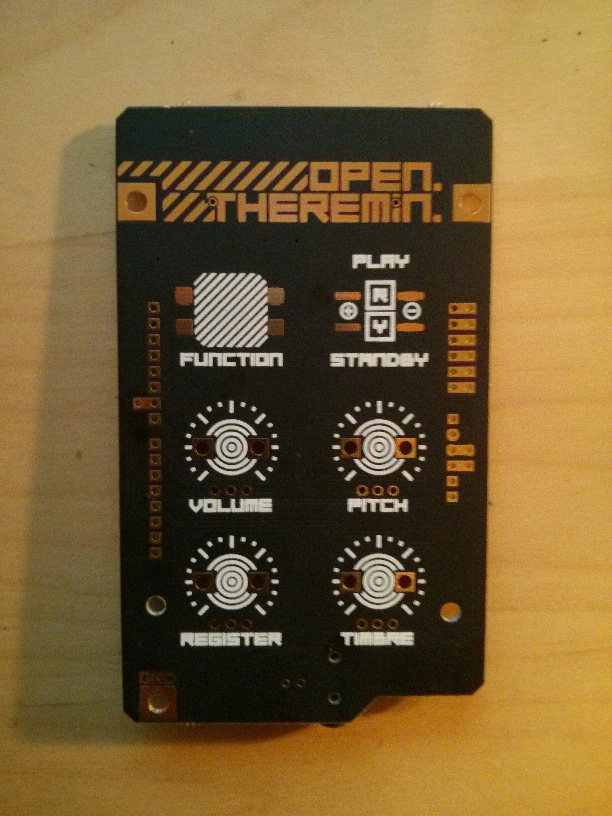
The kit basically consists of the board and the control knobs (along with a couple of LEDs, and the antennae connectors). The electronics are all pretty much pre-soldered onto the board; the knobs and LEDs, on the other hand, are not. The bare board looks like this:
There's not actually that much to put together (like I said, the components are mostly already soldered for you). You have to solder on the Arduino connectors and the knobs, as well as the LEDs, but that's about it. It all sounds very easy, and it is - if you know how to solder. I was reasonably good at it 20 years ago, back in school, but did I still have the knack? Was it like riding a bike?
The answer is...no. It is not like riding a bike. Not even close. Soldering was much harder than I remembered. In addition, the LEDs and one of the knobs were surface mounted (somewhat gratuitously, I thought, since it seemed to me that the components could have just as easily been soldered "through-hole"), which just added a new layer of difficulty. In my opinion, I ended up doing a not-horrible job, but it took way longer than it should have. The soldered result looks like this:
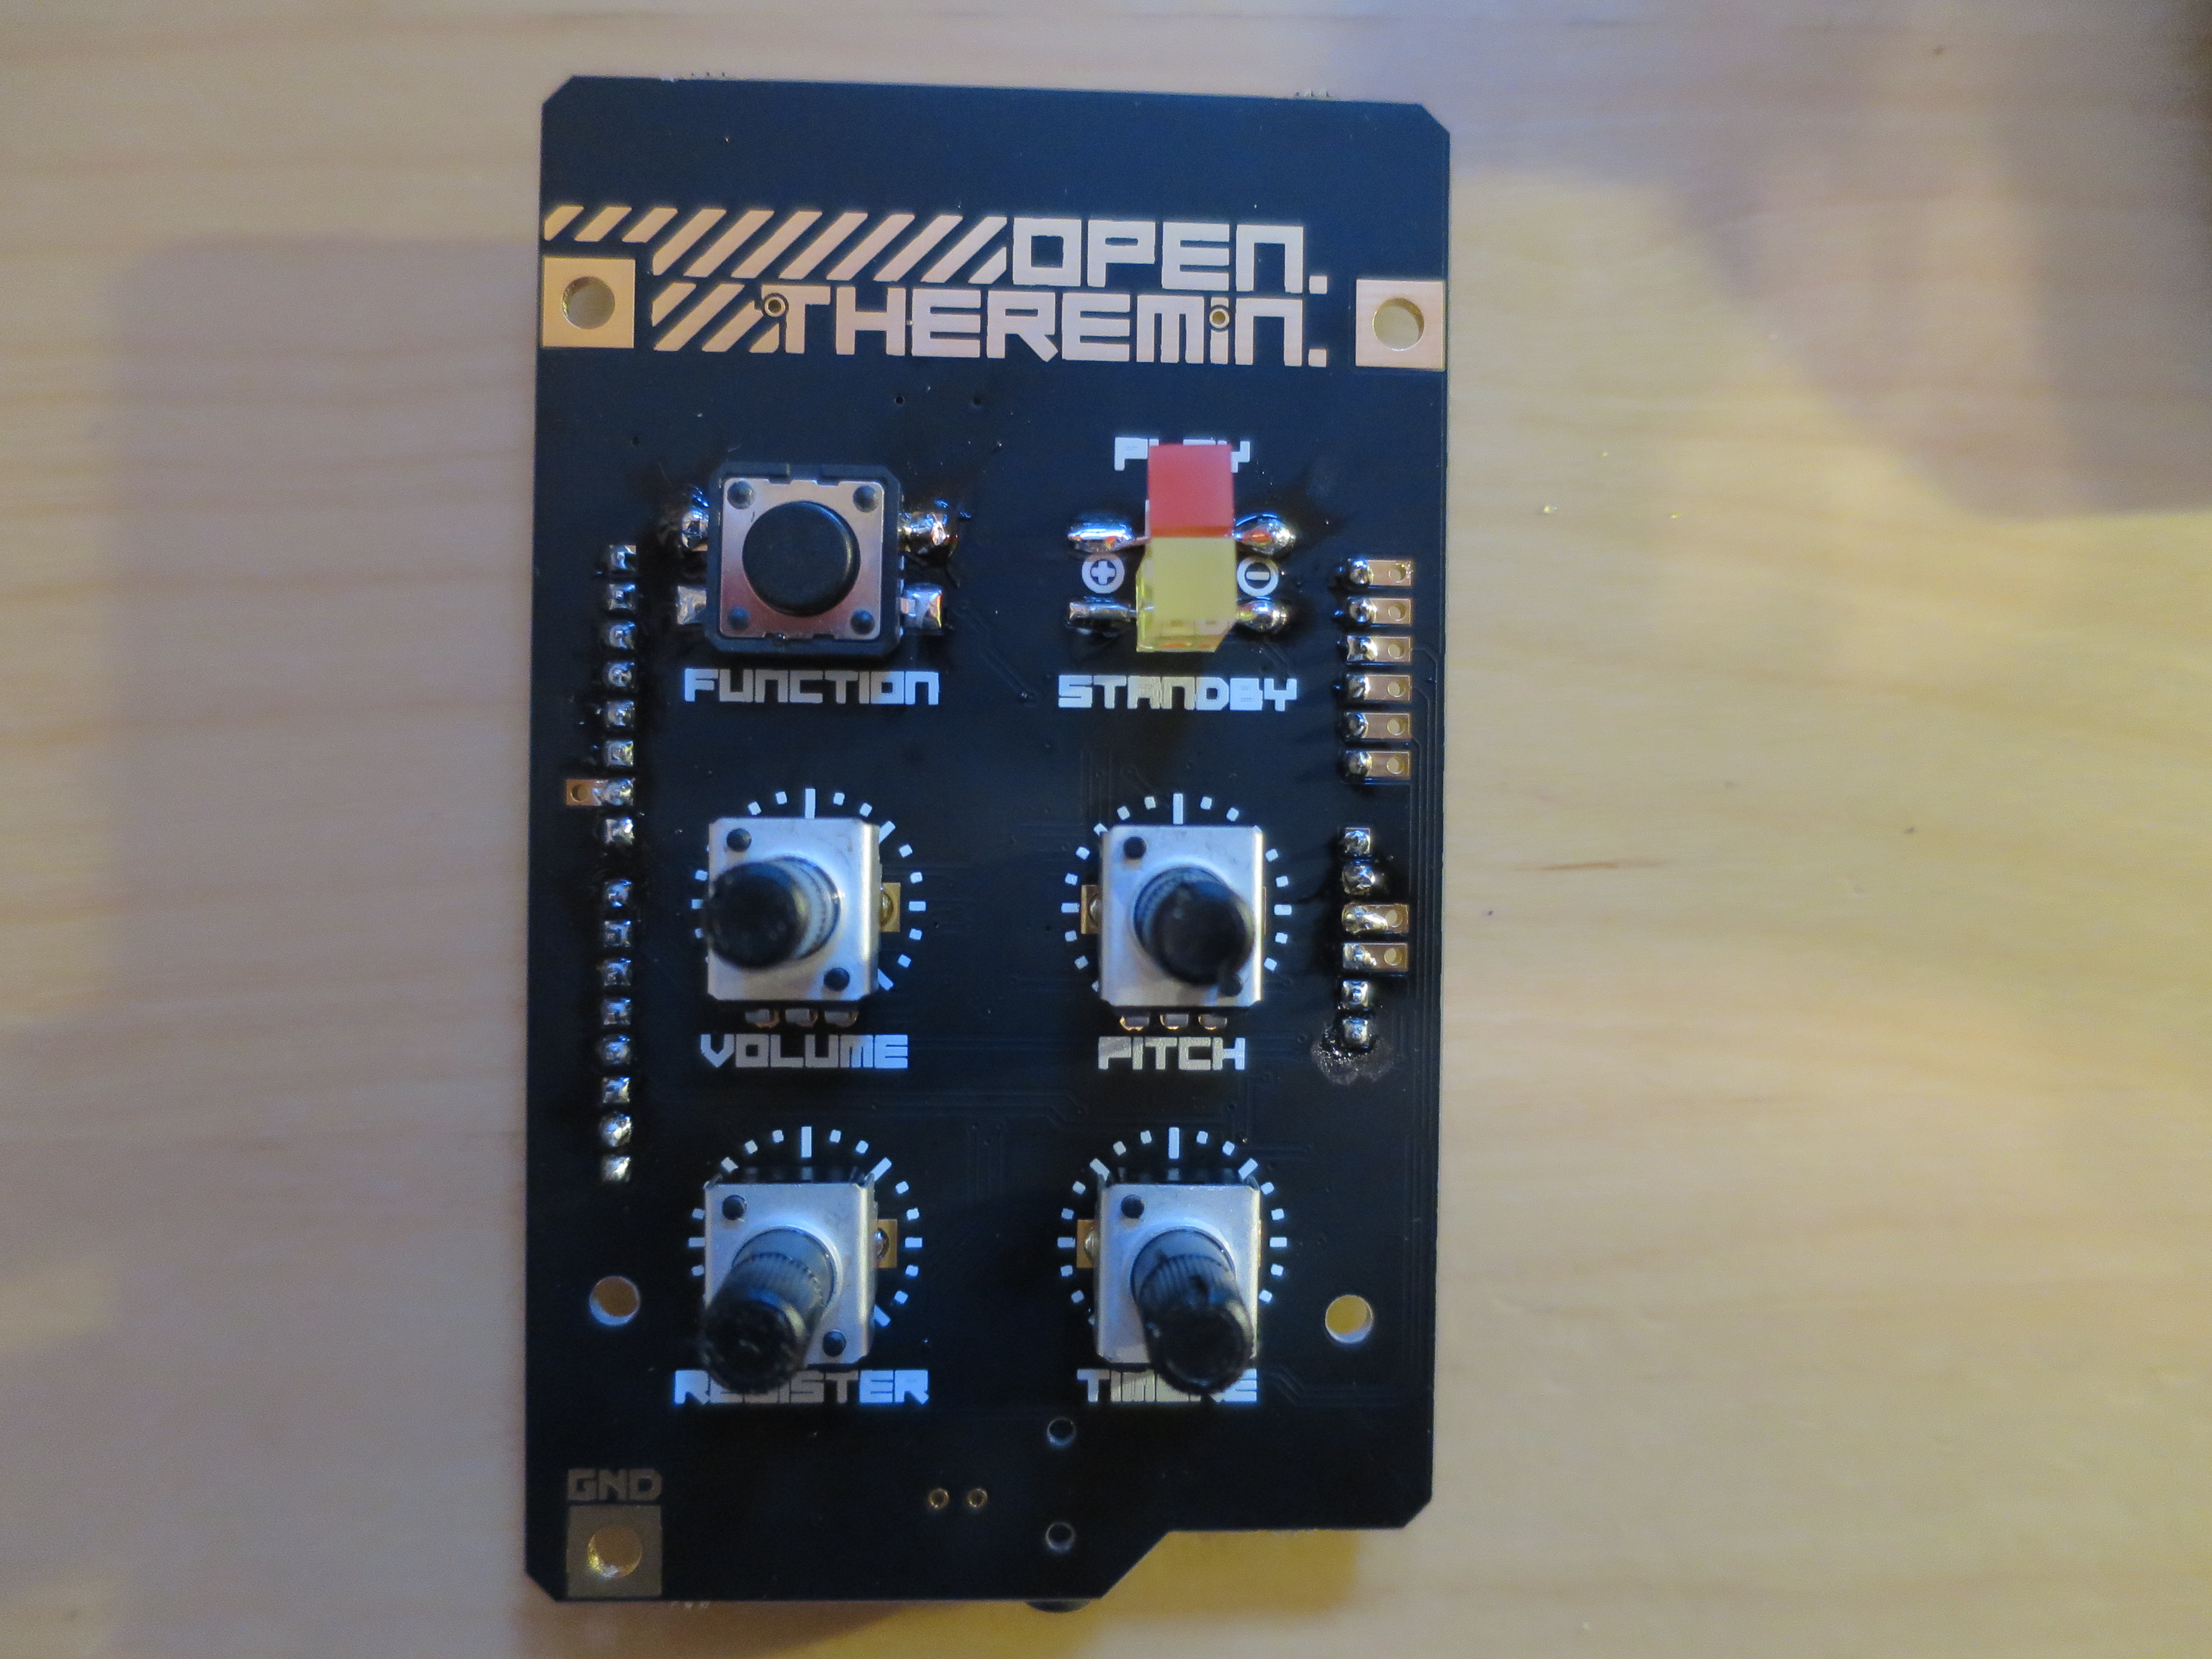
I'm a little disappointed at the "blobby" soldering job I did on the LEDs and Function switch, but on the whole I don't think it's that bad.
The kit doesn't actually come with the antennae - only the connectors which, thankfully, are merely screwed on, not soldered (using the pads on the upper left and right sides). The web site hand waves about this a bit, claiming that the required 4 mm aluminum tubes are difficult to ship, and then goes on to say that they should be widely available at any hardware store. This is simply untrue, at least in Montreal, where I live; I couldn't find tubes of the right size anywhere. I eventually had to order them from Ebay.
The website also does some hand waving on what exactly you're supposed to do with the tubes. It claims that "you can easily bend antennas from aluminum tubes of 6 mm diameter by hand to the desired shape" which isn't entirely untrue; I had to bend mine around a hard plastic cylinder about 10 cm in diameter. I've heard that wine bottles also work well.
Anyway, you put it all together, add an Arduino, connect the resulting monstrosity to a pair of speakers and voila! You have yourself a working theremin. The final result look like this:

This particular theremin is screwed into a small camera tripod, which is itself seated on a stool. The speakers were the cheapest I could find.
Grounding the Theremin
I made it sound like all you had to do was plug it in, connect up some speakers and start playing but sadly it's not quite that simple.
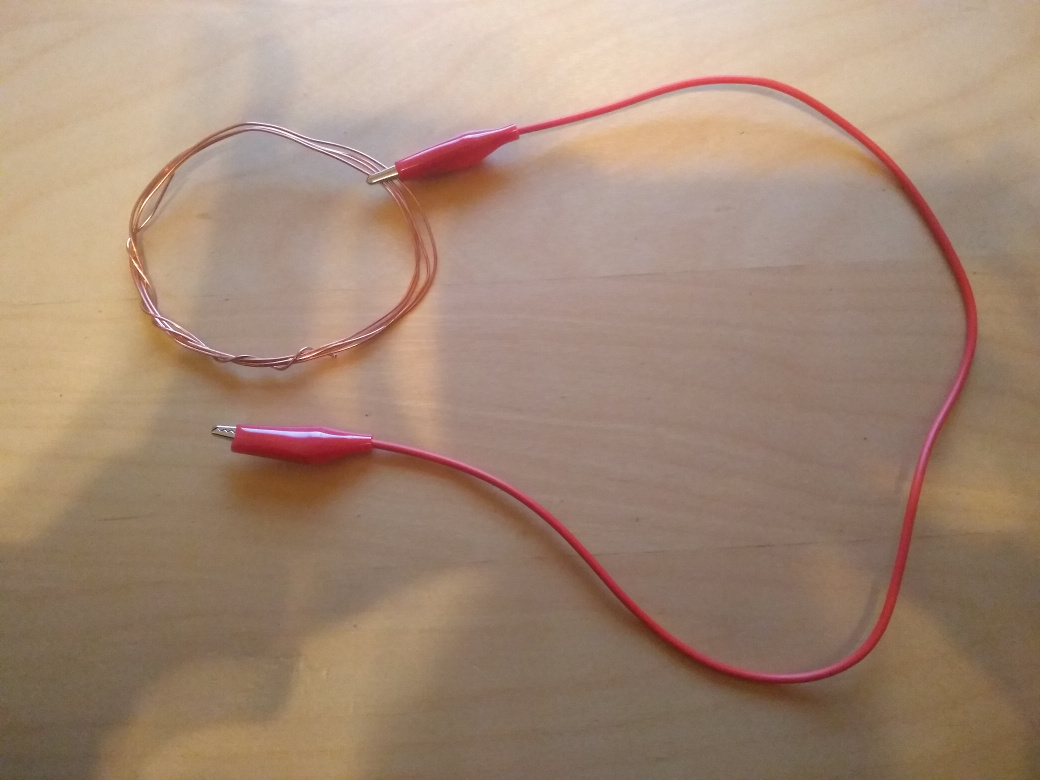
For one thing, proper grounding is crucial. Given that the player is actually part of the circuit (forming one half of a capacitor, the other half being the antennae), the instrument simply won't work unless both the player and the instrument are connected to ground. Luckily, the board comes with a grounding pad, which I connected to a makeshift copper wire bracelet via alligator clips:
Note that, in theory, you can also use a properly grounded power plug, but either my house isn't properly grounded (a very real possibility) or the carpet I play on is a better insulator than I thought, because using such a plug was ineffective. Manual grounding via the pad was the only thing I could get to work.
Calibrating the Theremin
Once the instrument is grounded, you have to calibrate it.
Any theremin that's more than just a toy (like the Open Theremin) comes with a pitch knob that allows you to calibrate the length of the playable field. Once you're seated comfortably, the idea is to use this knob to adjust the field so that the lowest note (the term I've heard used is "zero beat") is somewhere in the middle of your torso, with the player being positioned roughly 1.5 to 2 feet away.
After that comes the fine tuning. How you do this depends on how you play. Thereminist Carolina Eyck, for example, has developed a technique involving 8 finger positions so that she doesn't have to move her hand when she plays. Tuning the instrument in this case involves the following rough steps:
- You make finger position 1 and you find the C note in your playable field (in her videos, Eyck appears to have perfect pitch but I needed to download a Note Recognizer app on my phone to be able to do this)
- You then make finger position 8 and adjust the field so that this position is the next highest C note.
When you're finished, your hand will span an octave, and you can play all the notes in between by making the appropriate finger positions (much, much easier said than done).
Eyck has a rather instructive video on the subject:
One of the interesting things about the Open Theremin project is that it's able to automate the first step in the tuning process - the positioning of the zero beat. The mechanism by which this occurs will be the subject of another blog entry.
Playing the Theremin
So, once you've tuned your Open Theremin, what is it like to play?
This is a difficult question to answer. By all accounts, the Open Theremin is relatively easy to play, but how easy is that? Even so called "easy" theremins are quite difficult, given the nature of the instrument.
One of the issues that plagues theremins is the non-linearity of the playing field, and a lot of circuitry will often go into mitigating that particular problem. The Open Theremin is exceptionally linear, I suspect due to the fact that it "cheats" by using an Arduino, so I suppose that's one check mark in the easy column.
As you might imagine, Eyck has a video that introduces her playing technique:
The basic upshot is that if you learn how to play the four high notes of an octave, plus the starting C note, you can play the beginning of "Somewhere Over The Rainbow". A concrete goal - I like it. I'll let you all know how it goes.
In the meantime, here's a video of me just making random noises:
My hope is that, at some point, the random noises will begin to sound like actual music. Once again, we'll see how it goes. Stay tuned!
6 Conversation(s)
Comments and Mentions
Likes


Post a Comment